best free ai video generator
The 10 Best Free AI Video Generators for 2026
Discover the best free AI video generator for your needs. We review 10 top tools, their features, free-tier limits, and how to get pro results without paying.

You've probably done this already. You open one “free” AI video tool, type a prompt, wait in a queue, get a clip that looks promising, then hit the limit. Watermark. Export restriction. Credit wall. Or the output is fine, but there's no easy way to turn it into something you can readily post.
That's why choosing the best free AI video generator isn't really about flashy demos. It's about whether the free plan gives you enough room to experiment, whether the workflow is fast enough to repeat, and whether the result can survive one more step like captions, resizing, or social distribution. The space is moving quickly too. The global AI video generator market reached $788.5 million in 2025 and is projected to reach $3,441.6 million by 2033, expanding at a 20.3% CAGR from 2026 to 2033, according to Grand View Research's AI video generator market analysis.
For creators and small teams, that growth shows up in a practical way. More freemium tools, more daily generation allowances, and more pressure to figure out which “free” plan is actually useful versus which one is just a teaser. If you want a quick starting point for prompt-based creation, this AI video creation tool is also worth a look alongside the tools below.
The list starts with the tools I'd consider using without paying on day one.
1. Pika
Pika works best when you want movement fast and don't need a full studio wrapped around it. It handles text-to-video, image-to-video, and video-to-video, but its main appeal is the effect stack. Pikascenes, Pikaswaps, Pikadditions, Pikatwists, Pikaframes, and the Pikaformance talking or singing model give you more room to create odd, social-friendly visuals than many cleaner-looking competitors.
The free Basic plan is usable because it's not just a locked demo. You get monthly credits, and Basic allows downloads without a watermark. That matters. A lot of “free” video tools make you generate for free and pay at the export step, which is the worst possible version of free.
Where Pika actually wins
Pika is strongest when you already know the clip is short and punchy. Product reveals, meme edits, surreal transitions, stylized hooks, and fast visual experiments are a better fit than anything narrative or presentation-heavy.
- Best use case: Turning a simple still image into a moving opener for Reels, Shorts, or X.
- Strongest feature: Effect-driven editing instead of plain text prompting.
- Main limitation: Credit cost changes by tool, duration, and resolution, so careless testing burns through your free use quickly.
Practical rule: Use Pika for the first three seconds of a video, not the whole story.
Pika also has a learning curve. The controls are good, but they're spread across several effect families, and you need a few runs to understand which one gives controlled motion versus chaos. If you want broad editing polish, use Pika's pricing and plan overview as your reference point, then pair it with a separate editor after export.
2. Runway
Runway is what I'd call a serious creator's trial platform. The product is excellent. The free plan is not generous. Those are two different judgments, and both matter.
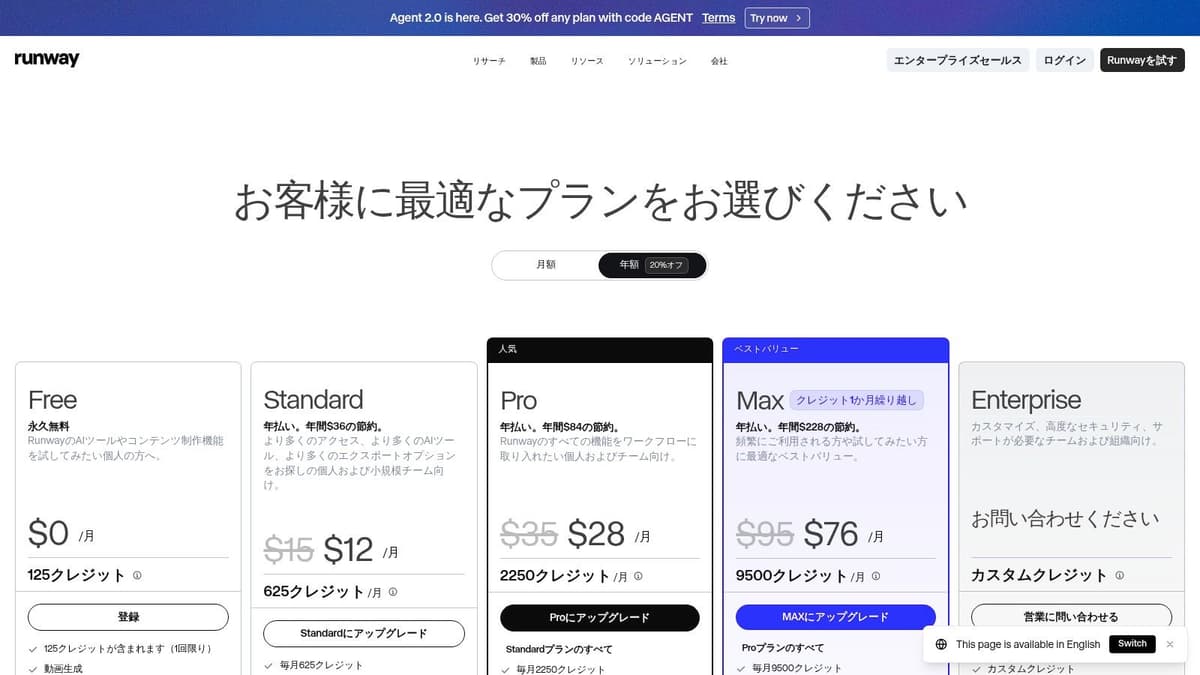
You get access to Gen-4.5 and Gen-4 Turbo workflows, image generation, a cloud editor, captions, upscaling, and export controls. The problem is that the free tier uses a one-time bucket of credits. Once you use them, that's effectively it. So if you're looking for the best free AI video generator for ongoing creation, Runway usually doesn't win. If you want to test pro-grade generation and editing in one place, it absolutely deserves a spot.
Who should use the free plan
Runway is worth using if you want to evaluate output quality before committing to a paid workflow. It's especially useful for filmmakers, ad creatives, and teams that care about the editing environment as much as the generated footage.
A lot of free tools can produce a clip. Fewer can help you shape, caption, sequence, and export it cleanly in the same browser session.
- What works: The editor feels built for actual production, not just novelty prompting.
- What doesn't: Free usage doesn't refresh in a meaningful ongoing way.
- How to use it smartly: Spend free credits on a single strong prompt idea, not broad experimentation.
If your workflow depends on reusable exports and a timeline-based edit process, Runway's pricing page shows clearly where the free plan ends and the full product begins. That transparency is a plus even if the free allowance is tight.
3. Luma, Dream Machine
You have a strong visual idea, a decent prompt, and no interest in spending an hour inside a timeline editor just to test whether the shot works. Luma Dream Machine fits that use case well. It is one of the better free tools for generating short clips that feel polished fast, especially from text or a reference image.
What stands out is motion. Luma tends to produce clips with a smoother sense of camera movement and better visual mood than many free tools in its class. That makes it useful for teaser shots, concept visuals, product atmosphere, and quick B-roll inserts. It is less convincing as a full video workflow because the editing, packaging, and publishing side is not the point here.
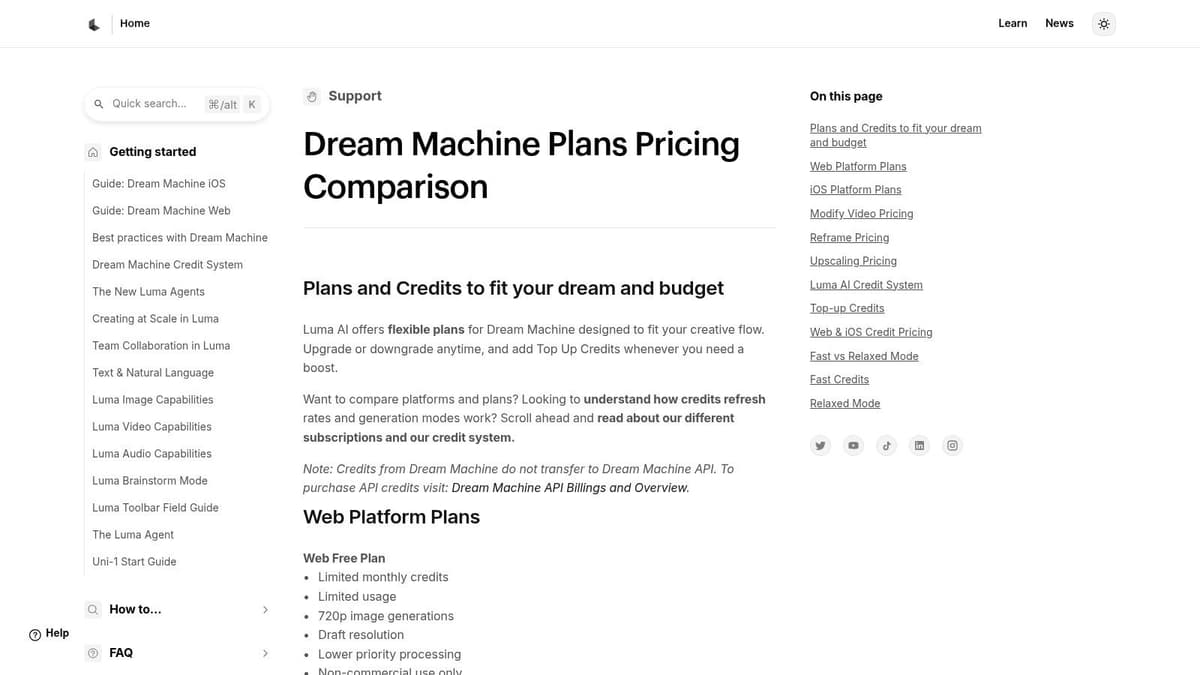
The free plan is usable, which matters more than a flashy one-time trial if you like to test prompts over several days instead of burning through everything in one session. Free access still comes with trade-offs. Queue times can slow you down, iteration is limited, and you may need several attempts before a prompt stops looking generic.
Best for short cinematic inserts
Luma works best when the clip only needs to do one job. Set a mood. Suggest a scene. Create a transition shot.
That is the practical way to use it.
Creators usually get the best results by generating a few focused clips, then finishing the edit somewhere else. If the goal is to turn one AI visual into multiple social posts, a workflow built around AI content repurposing for short-form distribution makes more sense than trying to force Luma into an all-in-one role.
Prompts with clear subject, environment, and camera intent usually perform better than long descriptive paragraphs.
The weak point is control under free limits. If you need captions, scene sequencing, brand formatting, or lots of revision passes, Luma starts to feel narrow. If you need one striking shot for an intro, a landing page background, or a social hook, that narrowness is often fine.
For current limits, queue behavior, and paid plan differences, Luma Dream Machine's support and pricing details are the right place to check before building a repeatable workflow around it.
4. CapCut AI Video Generator

CapCut is the practical pick for social content. Not the most cinematic. Not the deepest generation engine. But if your real goal is to make something postable today, CapCut is one of the easiest places to do it.
Its AI video generator sits inside a much larger editing ecosystem. You can generate from text, use templates, add auto-captions, resize for platforms, and export from desktop, web, or mobile. That's a big reason it stays relevant. A lot of creators don't need a pure generator. They need a generator attached to a fast editing environment.
Why social-first creators keep choosing it
CapCut is especially good when the generated material is only one ingredient in the finished post. You can pull in stock-style assets, use templates, trim hard, add captions, and quickly adapt the result to vertical formats.
- Best fit: Shorts, Reels, founder updates, promo edits, UGC-style clips.
- Big advantage: The free experience is broad enough that beginners don't get stuck.
- Main trade-off: Premium assets, higher limits, and some advanced tools sit behind Pro.
If you publish often, CapCut also pairs well with content systems that turn one source asset into several versions. This guide on AI content repurposing is useful if you're trying to squeeze more output from every generated clip.
CapCut is one of the easiest answers to “what's the best free AI video generator if I need to finish the edit too?” Start there if distribution matters as much as generation. You can check the current workflow on CapCut's free AI video generator page.
5. Canva AI Video Generator
A common scenario: the script is done, the brand colors are fixed, the post needs three aspect ratios, and nobody wants to move files across four different tools. Canva works well in that situation.
Its AI video features are strongest when generation is only part of the job. You can draft clips from text, pull in brand assets, add captions, use templates, resize for different channels, and publish from the same workspace. For founders, in-house marketers, and small teams already building in Canva, that matters more than having the most dramatic model output.
Where Canva earns its place
Canva is good at practical business video. Product teasers, launch posts, simple explainers, event promos, internal updates, and polished social clips are all realistic use cases on the free plan.
The limitation is easy to spot after a few tests. Motion tends to be safer, style range is narrower, and the result usually needs editing to feel finished. If your goal is surreal visuals or high-end cinematic text-to-video, other tools in this list are better bets. If your goal is to get a branded video out today without breaking the workflow, Canva is often faster.
I would use Canva for videos that need to match an existing design system, not for creative experimentation.
A workable free-plan approach is simple: generate short pieces, keep expectations modest, and treat Canva as an assembly point. Build the first draft with AI, replace weak scenes with stock or static design elements, then use captions, transitions, and layout control to make the final video feel intentional. That workflow usually produces better results than asking Canva to create the entire video from scratch.
A few practical rules help:
- Use Canva when: Brand consistency, speed, and multi-format publishing matter more than raw generation quality.
- Expect friction when: You need long AI outputs or a lot of retries, because free AI usage is limited.
- Best workflow: Generate a short clip, edit around it, and finish inside Canva's template and brand system.
- Less ideal for: Creators comparing model quality across tools or chasing highly stylized motion.
That is why Canva belongs in a guide to the best free AI video generator tools, even if it rarely wins a pure model-quality comparison. It solves a different problem. It helps teams turn rough AI output into something they can publish.
If that matches your workflow, Canva's AI video generator is worth testing.
6. InVideo AI
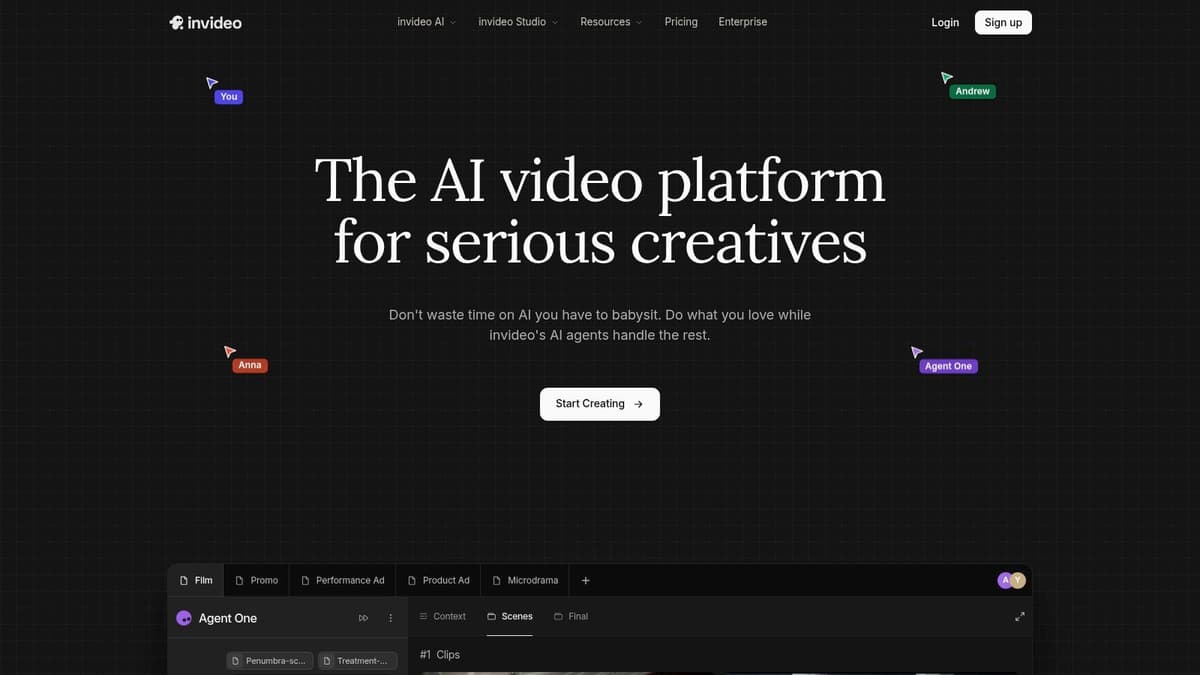
InVideo AI is less a single generator and more an AI content hub. That's its value. Instead of forcing you into one model family, it exposes a large range of video, image, and audio options through one interface and adds agent-style workflows, avatars, and voice features on top.
This style of product works well for people who don't want six separate accounts just to compare outputs. The model playground also makes credit costs visible, which is unusually helpful when you're trying to avoid wasting free usage.
Good for exploration, not sustained free volume
The free credits are small, so InVideo AI isn't the best free AI video generator if your goal is heavy ongoing use without upgrading. It is useful if you're still figuring out which model style fits your content.
A related pattern is showing up across aggregator platforms. WaveSpeedAI, for example, gives starter credits at signup for text-to-video, image-to-video, and video-to-video workflows across models such as WAN 2.7, Sora 2, Veo 3.1, Kling, Vidu, and HaiLuo from one dashboard, as noted on WaveSpeedAI's free AI video generators roundup. InVideo AI appeals to the same instinct. Centralized experimentation.
The free plan is best used like a lab bench. Test models, learn what each one is good at, then decide whether you need a dedicated tool.
If you need one workspace for prompting, agent workflows, avatars, and model comparison, InVideo AI is a sensible place to experiment. Just don't confuse “many models available” with “lots of free production capacity.”
7. VEED AI Video
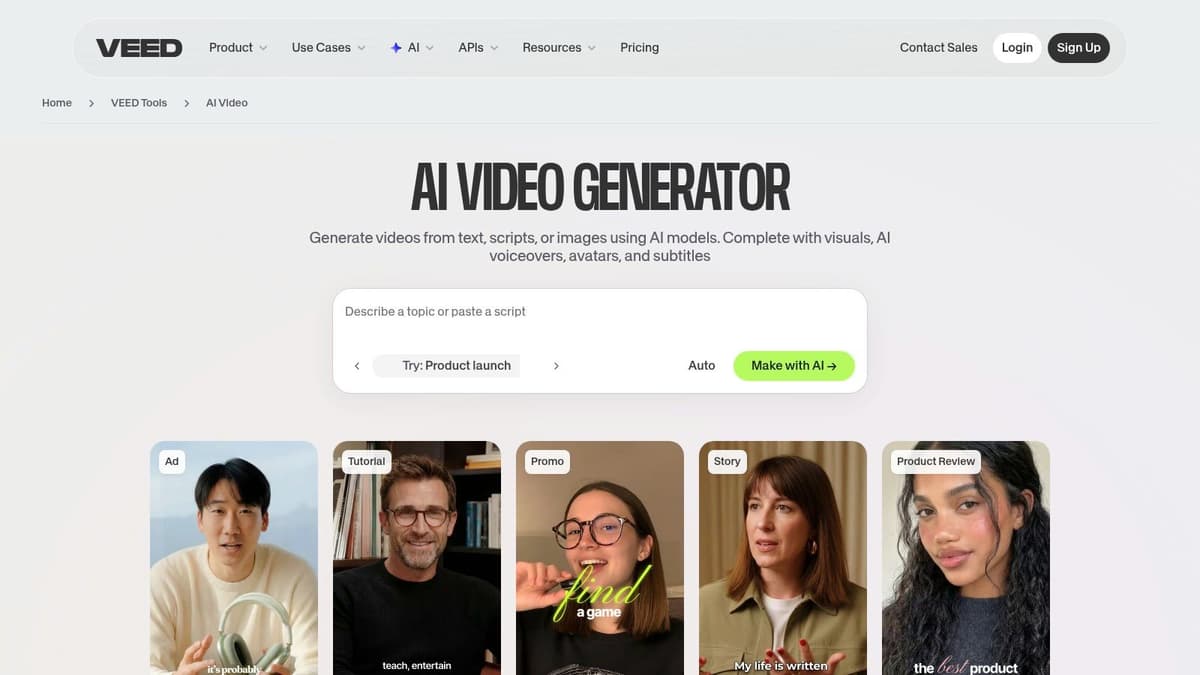
You have a webinar recording, a product demo, or a decent AI-generated clip from another tool. The hard part is no longer making one video. It is turning that raw asset into five usable versions for Shorts, Reels, LinkedIn, and a subtitled website embed without spending half a day in an editor. That is where VEED fits.
VEED is strongest when the job is editing, repackaging, and distribution prep. Its AI features matter, but the primary benefit on the free plan is speed. Upload source footage, trim dead space, add captions, resize for different platforms, test translated or dubbed versions, and get something publishable fast.
This is a better use of free AI than chasing one perfect prompt.
Best used as the editing layer in a hybrid workflow
VEED works well in a chain. Generate visuals in a dedicated model. Bring the result into VEED. Then handle the practical work that gets videos posted: subtitles, layout changes, timing fixes, title cards, and exports suited to each channel.
That workflow is more realistic than relying on one free tool to generate, edit, localize, and publish at scale. Free plans rarely give enough generation capacity for that. VEED earns its place by helping you salvage rough outputs and turn longer recordings into short-form content that people will readily watch.
I have found it especially useful for founder clips, podcast excerpts, tutorial snippets, and simple promo edits where clarity matters more than cinematic motion.
- Use VEED for: Caption-first short videos, repurposed webinar clips, translated explainers, square and vertical social edits.
- Expect limits on: AI generation volume, export quality on free usage, and branding removal.
- Skip it for: Heavy text-to-video experimentation or high-volume free production.
One practical note. Editing is only half the workflow. If you are turning VEED exports into a repeatable content pipeline, it helps to pair it with a system for automating social media posting across channels so the repurposing work does not stop at the export button.
For browser-based editing with AI features that save real time, VEED's AI video tool is a solid free option. Just go in with the right expectation. VEED is better at making rough material usable than giving you lots of free original generation.
8. HeyGen
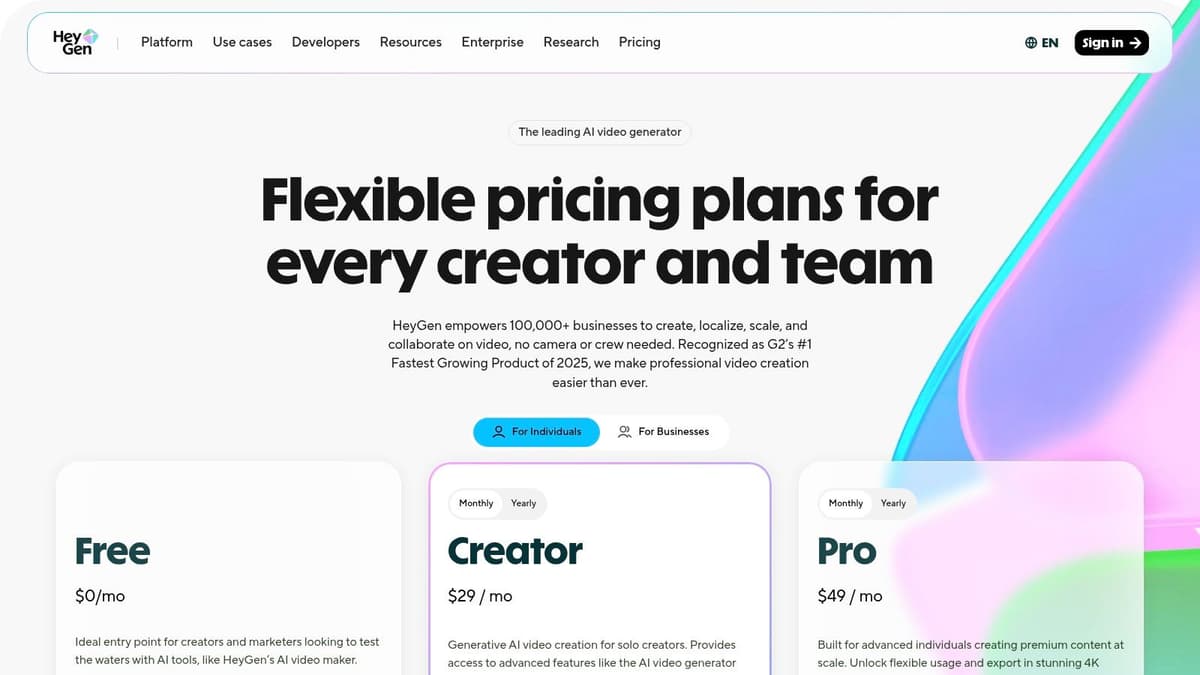
A common scenario. You need a product update video by the end of the day, nobody wants to get on camera, and the same message has to work in more than one language. HeyGen is built for that job.
It is one of the better free AI video tools for presenter-style output, especially if your raw material is already a script. Instead of chasing cinematic generation, it focuses on avatars, voiceover, translation, and clean delivery. That makes it more useful for onboarding, sales outreach, internal training, support walkthroughs, and simple product explainers than for visual storytelling.
Best for script-first teams
HeyGen works best when the workflow starts with clear copy. Write the script, trim it hard, then turn it into a short presenter video. Free plans in this category usually run into limits fast, so the practical move is to use HeyGen for the front-facing host segment, then cut in product footage, slides, or screen recordings elsewhere if needed.
That approach gets better results than trying to make one free tool handle the full production stack.
The trade-off is straightforward. HeyGen can look polished quickly, but free usage tends to be tight, and the most convincing avatars, voices, and advanced controls are usually part of paid tiers. If you only need one clean talking-head clip to test a message, that may be enough. If you need a weekly series or multi-language campaign, you will hit the ceiling early.
- Use HeyGen for: Sales intros, onboarding videos, internal updates, training clips, multilingual explainers.
- Expect limits on: Free generation volume, avatar selection, premium voices, and higher-end customization.
- Skip it for: Experimental text-to-video scenes, motion-heavy brand storytelling, or bulk free production.
One workflow I have seen work well is to make the avatar handle the opening and closing, then stitch in demos or screenshots for the middle section. That keeps the generated portion short, which matters on free plans, and it usually makes the final video feel less artificial.
If those videos are part of a real content pipeline, it also helps to pair creation with a system for scheduling social posts across multiple platforms so the work does not end after export.
For fast script-to-avatar production, HeyGen's pricing page is the right place to check the current free-plan limits before you commit to a format.
9. D-ID, Creative Reality Studio
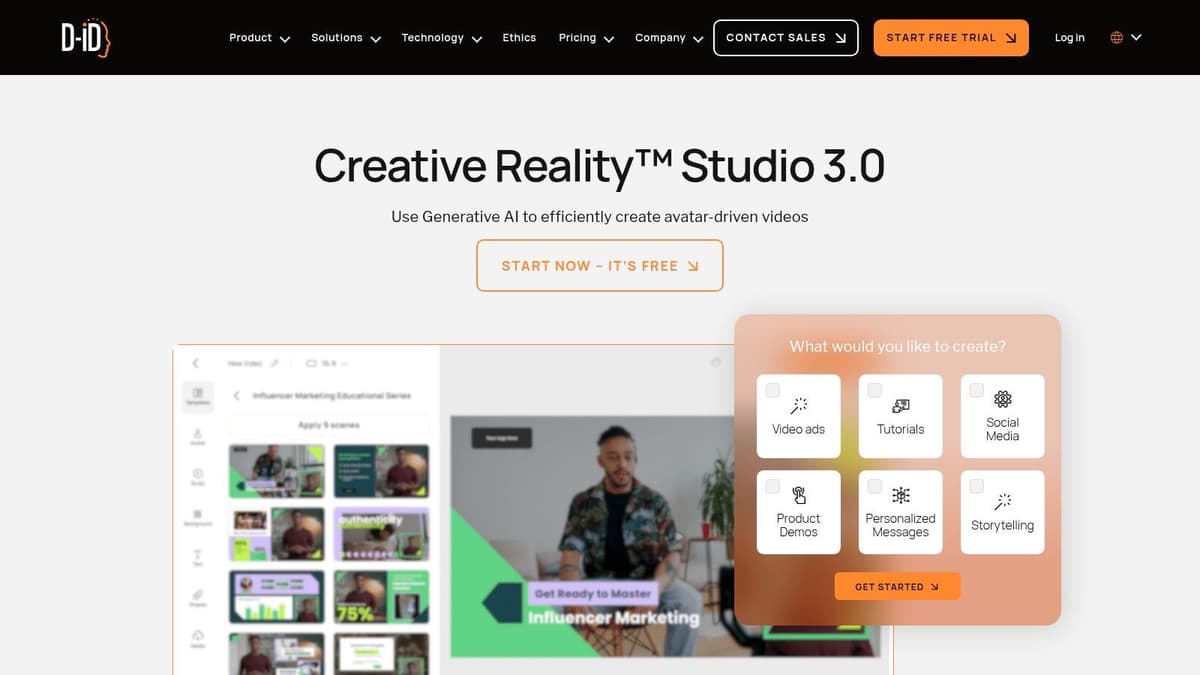
D-ID is narrower than HeyGen, and that's not a criticism. It's a fast talking-photo tool. If you need a portrait or avatar to speak a script and you don't need broad cinematic generation, it can be a very efficient option.
That narrowness is useful. The tool doesn't pretend to be everything. It gives you a clear path from script plus image to presenter-style video, with stock or custom presenters and text-to-speech options layered in.
Best for host-led updates and explainers
D-ID makes sense when you need a face on screen without filming anyone. Product announcements, onboarding snippets, internal updates, support messages, and lightweight explainers all fit.
The limitation is obvious too. This isn't where you go for scene generation, motion-heavy storytelling, or visual worldbuilding.
A talking-head tool is often better than a full generator when clarity matters more than spectacle.
If your audience responds better to a host-led format than to stock visuals and motion graphics, D-ID's Creative Reality Studio is worth testing. It's especially practical for teams that already have scripts and just need a presentable delivery layer.
10. Haiper
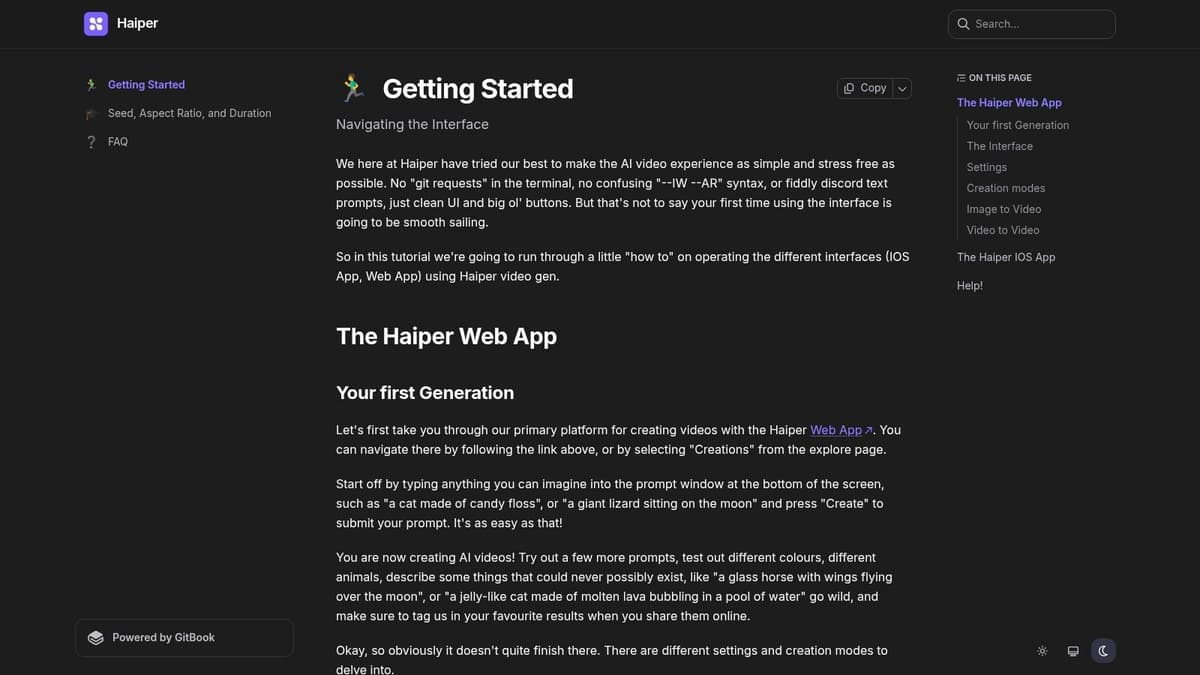
Haiper has the feel of a research-led tool that still wants to be approachable. It supports text-to-video, image-to-video, and video-to-video generation, includes adjustable settings such as seeds and duration, and offers web plus iOS access. The interface is clean, and the product documentation is better than what many newer generators provide.
For free users, the key phrase is “free to try.” That usually means enough room to evaluate the product, not enough room to build a full recurring publishing machine.
Why Haiper is useful anyway
Haiper is good for ideation. You can test visual directions quickly, explore styles, and produce short social-ready clips without much setup. That makes it a good creative scratchpad.
Where it gets weaker is long-term certainty. Credit and quota details can shift, so it's the kind of product where you should verify current in-app limits before planning a workflow around it.
There's also a broader reality in the free AI video space that most mainstream lists still underplay. Local open-source deployment is the only path to unlimited free generation if you have the hardware. Coverage often skips that because it seems technical, but tools like Wan 2.2 are central to that conversation, as discussed in this video on running free AI video generation locally with Wan 2.2. Haiper sits on the opposite side of that trade-off. Easier to access, but limited by cloud economics.
If you want a lightweight, fast, free-to-try generator for experiments and social concepts, Haiper's video generator documentation is worth exploring. If your project also needs narration, AI voice generation for artists can help cover the audio side.
Top 10 Free AI Video Generators, Feature Comparison
| Tool | Core features | 👥 Target audience | ✨ Unique selling point / 🏆 Highlight | ★ UX & Quality | 💰 Pricing / Value |
|---|---|---|---|---|---|
| Pika | Text/image/video→video, effects toolbox, lip‑sync model | Creators, social editors | ✨ Deep creative controls; downloads without watermark on Basic 🏆 | ★★★★ | 💰 Free Basic (monthly credits); credit‑gated 1080p & fast queues |
| Runway | Gen‑4/4.5 video models, cloud editor, export controls | Pro editors, studios | ✨ Studio workflow + strong export/upscaling 🏆 | ★★★★★ | 💰 Free trial credits; paid tiers for ongoing credits & watermark removal |
| Luma, Dream Machine | Text/image→video (Ray models), cinematic motion | Filmmakers, brand teams | ✨ Photoreal cinematic motion & model updates 🏆 | ★★★★☆ | 💰 Limited free credits; tiered plans for higher duration/resolution |
| CapCut AI Video Generator | Text→video, templates, auto‑captions, resizing | Social creators, marketers | ✨ Fast social‑first templates & cross‑platform apps 🏆 | ★★★★ | 💰 Generous free tier; CapCut Pro for premium assets/limits |
| Canva AI Video Generator | Text→video, templates, brand kits, stock assets | Founders, small teams | ✨ Integrated brand kits & multi‑format exports | ★★★★ | 💰 Free with limited AI credits; Pro/Business unlocks top models |
| InVideo AI | Aggregated 200+ models, agent workflows, avatars | Agencies, experimenters | ✨ One workspace for many models; transparent credit costs | ★★★★ | 💰 Small weekly free credits; paid plans scale monthly credits & remove watermarks |
| VEED AI Video | Generation + timeline editor, subtitles, dubbing | Social repurposers, comms teams | ✨ All‑in‑one generate→edit→caption pipeline 🏆 | ★★★★ | 💰 Free but low credits & watermarks; paid tiers unlock features |
| HeyGen | Talking‑head avatars, lip‑sync, multilingual voices | Training, explainers, localized marketing | ✨ High‑quality stock/custom avatars for scale 🏆 | ★★★★ | 💰 Free capped usage (few videos/mo); credits for premium avatars |
| D‑ID, Creative Reality Studio | Photo→talking‑video, TTS, presenters | Onboarding, explainers, presenters | ✨ Fast host‑led clips from photo+script 🏆 | ★★★ | 💰 Minutes‑based pricing; paid plans & API for higher volume |
| Haiper | Text/image/video→video, adjustable seeds, AR | Researchers, stylized creators | ✨ Research‑led fast stylized outputs with frequent updates | ★★★★ | 💰 Free‑to‑try quota; paid plans for larger usage |
Your Next Video Is Just a Prompt Away
Free AI video tools are good enough now that the bottleneck usually isn't generation. It's judgment. You need to know which tool matches the job, where the free plan breaks, and how to stitch the pieces together without wasting time.
That's why the “best free AI video generator” question has no single winner for every creator. Pika is strong for effect-heavy hooks. Runway is the pro-grade test bed with a limited free path. Luma works well for cinematic mood. CapCut and Canva are practical when editing and brand consistency matter more than raw model prestige. InVideo AI and VEED become more useful when you think in workflows, not in isolated prompts. HeyGen and D-ID are the better choices when a speaking presenter beats visual experimentation. Haiper is solid for fast ideation.
There's another shift worth paying attention to. The AI video generator market in 2026 is valued between $847 million and $946.4 million, with projected CAGR estimates of 18.8% to 20.3% through 2033 to 2034, and text-to-video accounts for 46.3% of total market share, according to AtlasCloud's 2026 guide to free AI video generators. You can feel that in the products already. Text prompts are becoming the default entry point, but the useful workflows don't stop there. They move into captions, localization, resizing, and publishing.
That last part is where many creators still drop the ball. Making the clip is only half the work. Getting it distributed consistently across channels is what turns a good experiment into compounding reach. If you're posting to one platform manually and forgetting the others, your creation workflow is only partially solved.
For founders and indie hackers, I'd keep the stack simple. Use one generator for your core visual style. Use one editor for cleanup and repurposing. Then connect it to a distribution tool so every finished clip doesn't die in your downloads folder. That's also why I like products that reduce post-production friction more than products that promise magic from one prompt.
A final practical note. Not every “free” tool is meant for sustained use. Some are real freemium products with recurring value. Others are trial experiences dressed up as free plans. Test with a real project, not a novelty prompt. Try a launch teaser, a changelog video, a feature explainer, or a social clip you'd publish. You'll learn more in one hour doing that than in a week comparing marketing pages.
The easiest way to start is to pick one lane. If you want scenes, test Luma or Pika. If you want social edits, use CapCut. If you want an avatar presenter, use HeyGen or D-ID. If you want broad experimentation, try an aggregator or an editor with model access. Then refine from there.
Once you've made the video, don't let distribution become the manual chore that slows everything down. MicroPoster is a smart next step if you want your clips to keep working after export. You can publish once from your main account and have MicroPoster mirror and adapt posts to X, Threads, Bluesky, and Mastodon automatically, with built-in formatting help for each platform. For founders, creators, and small teams pushing frequent updates, that's a cleaner system than manually reposting every asset. The 7-day free trial makes it easy to test whether your AI video workflow feels more complete when creation and distribution are connected.